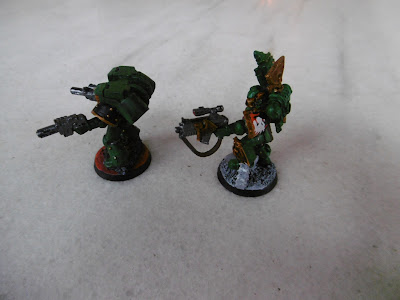
Two Centurions and two Moritats to complete my sallies
Monday, 27 March 2017
Itopanch: Attack on the hideout
Itopanch: an island hidden during millenia by the magic of the Slann. With the fading of their great plan, the mists lift and through them emerges a virgin land ripe for exploring!
Map by Francesca Baerald.
In this Mordheim game I had to defend my base from the lizardmen, my ship would be anchored and immobile so I placed some cannon on the fortress. Then rain started to fall, hindering the use of the guns on the tower. I still had hopes, I only had to hold in the frotress until turn 6 and keep the stash safe in order to win.
I placed my captain well hidden and the rest of the crew manning the guns
The lizardmen sped ahed, while both warbands exhanged cannon shots
One saurus was injuried
First blood to the lizardmen, that sniped an ogre with the guns
Revenge came soon and the totem warrior was killed by an iron ball
The lizards grounded their ship and raced ahead
One of my guns was destroyed by the enemy fire
One skink was taken OoA by the fire of my remaining cannon
The saurus at the head of the conga easily stepped over some quicksands
The ogre guide manning the cannon was killed, while his youngblood comrade jumped overboard and swam to the shore
I played a siren to try to lure a skink into the sea but he was left cold by her maritime charm
One saurus wounded the youngblood who had just come ashore
The garrison of the fortress charged ahead
And fighting erupted in the beach, if I was in combat those cannon wouldn't be able to fire at me
A saurus was brought low, but killed his attacker
While my captain gutted the skink hero in the end of turn 6.
I managed to defend the hideout in spite of the losses, so I won (quite in extremis).
In the campaign phase all lizardmen recovered well, their skinks gained +1 BS and the sauruses +1WS, while some heroes got new skills. The lizard also resuced a marooned pirate, gaining a swabbie. The phase was much hard for the maneaters, two youngbloods had to face wild cold ones and one was eaten by the enraged beast, the guide recieved a deep wound and would skip the next game. Despite such losses the income from the game was such that they not only refilled the place of the dead hero but also recruited a half grown equipped with a two handed waepon.
Wednesday, 22 March 2017
Magnesia 190 b.C.
The last battle, Antiochus III meets the roman army in the battle that'll decide the fate of Anatolia.
As per the narrative campaign rules the seleucids have one unit less after deploying decided by their player. The armies are basic impetus: polybyian roman vs Alexander imperial (it fitted Oriol's collection better than any of the proper seleucid ones).
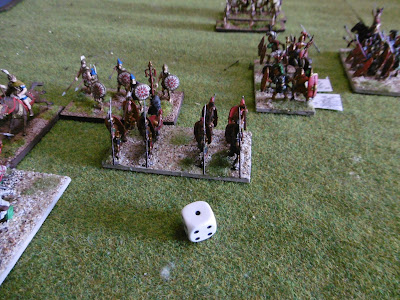
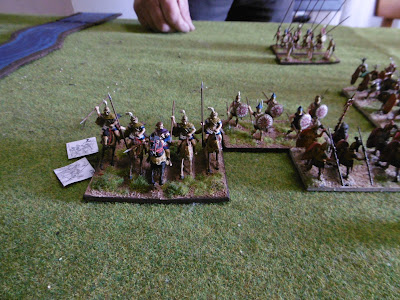
The seleucid player begins moving all the mounted untis forwards, it's becoming a vice of him to move in two lines
The romans advance in a more even line
Lucius ornelius Scipcio leads from the fornt, however it is his brother the Africanus who actually commands the army from the shadows...
The seleucid skirmishers also advance and kill one unit of velites
The king's light infary charges and pushes back the roman nobles
The legions advnace in echeleon towards the weak enemy left flank
Combats erupt along the line
The elefant charges, however Scipcio's own legion holds them long enough for a second one to charge and make it reel in terror.
Another legion kills the seleucid peltasts
The mauled nobles finally cut to pieces the light horse
The roman left holds as best as it can against the seleucid elite (hipaspists and cavalry agema)
While the elefant charges, pushing back a legion with some loss
The roman left is practically destroyed but still helds and even pushes back the hetairoi
With all impetus lost, the elefants are ground to a halt and destroyed
The romans in the right keep on advancing, killing now some cretans
No pasarán!
Legion and hispaspists fight it out to a draw, but more romans are coming to tip the balance
Pasaron...
But in the end the hipaspists are caught in the flank and routed, giving victory to Rome
The battle went pretty much like the historical one, the romans destroyed the seleucid left and then wheeled to trap the units in the center, assuring the rout of the king's army. The only difference being that their left held much better against the agema than the actual flank (purelly due to lucky rolls).
So with his army routed Antiochus III asks for peace abandoning all Asia west of the Taurus mountains, lands that will be given by the romans to their allies in the region, Rhodes and Pergamon. The outcome will have far worse consequences than these for the seleucids, since it will send out a message of weakness that will be heard by both jews and parthians, and mean the end of the dynasty as a relevant empire, and damn them to a decadent agony until being erased form the pages of history by Pompey on the next century.
Subscribe to:
Comments (Atom)


